Telemetry Insights
DocumentationGetting Started

Adding Devices to Your Account

Adding Devices to Your Account

beginner5 minutes

This guide applies any time you need to link a provisioned device to your account:

  • Your account was created through web checkout and you are ready to add your first device
  • You already have an account and are adding one or more additional devices

The steps are identical in both cases.

Before You Begin

Make sure your device is provisioned and you have these three items written down from the provisioning process:

  • 🏷️ Device name, format Buddi-XXXXXX, shown on the LCD after connecting
  • 📶 WiFi network name (SSID), the network your device connected to
  • 🔐 6-digit PIN, the PIN you entered during provisioning

Not provisioned yet? Start with Setting Up Your Device →

No account yet? Start with Creating Your Account →


Adding a Device

  1. Open the Telemetry Insights app and sign in.

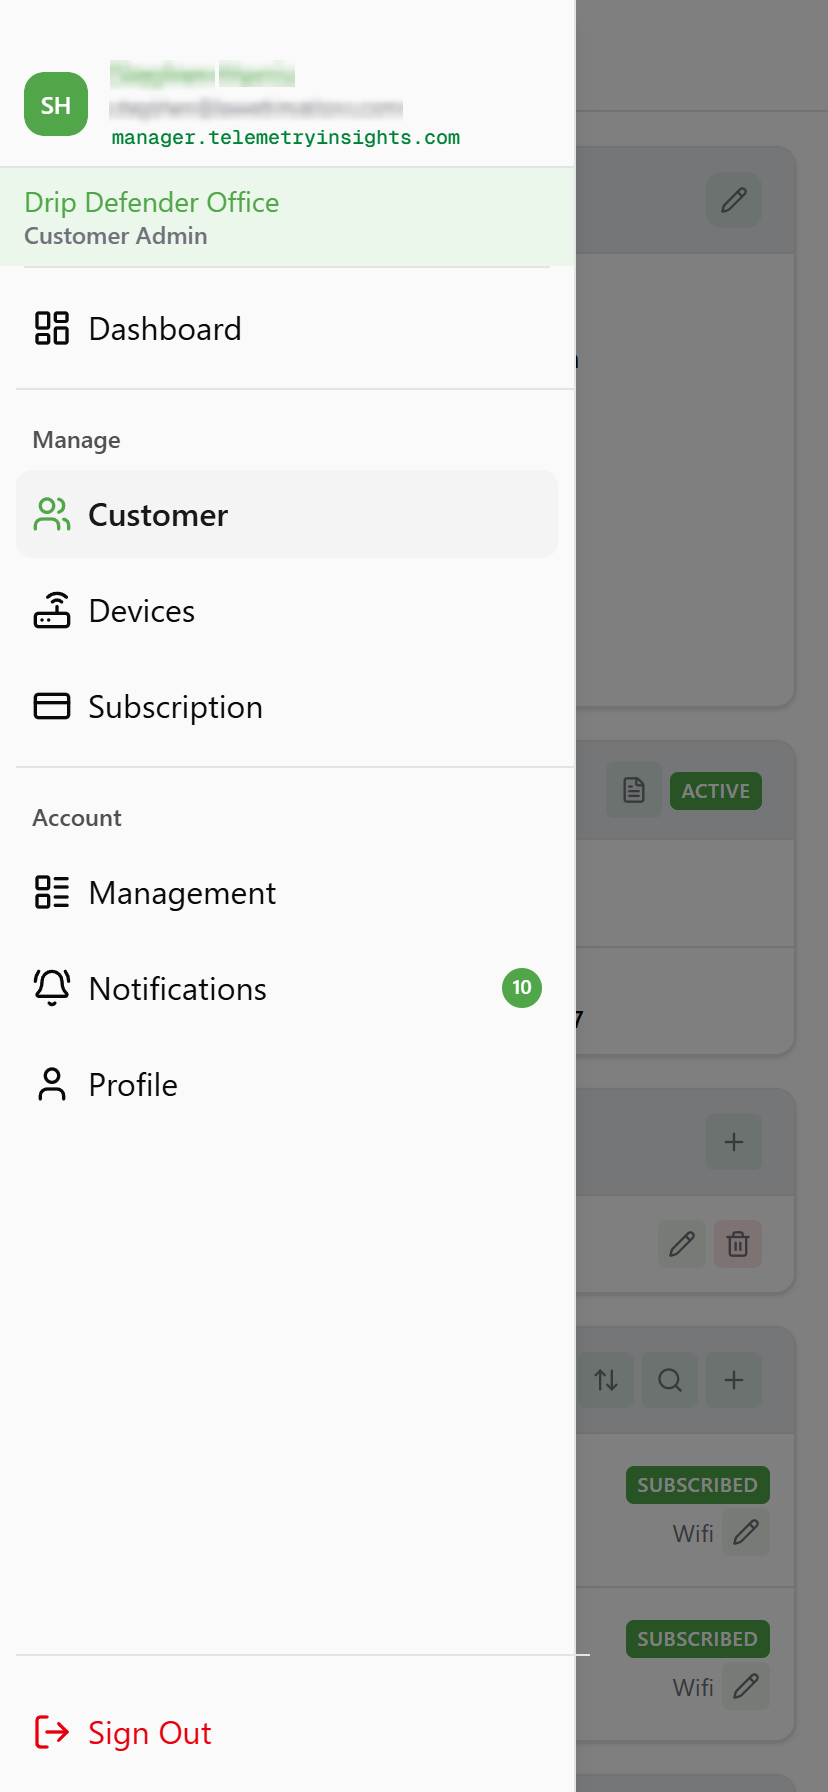
  2. Tap Customer in the navigation menu.

    Customer menu navigation
    View full size
    Customer menu navigation
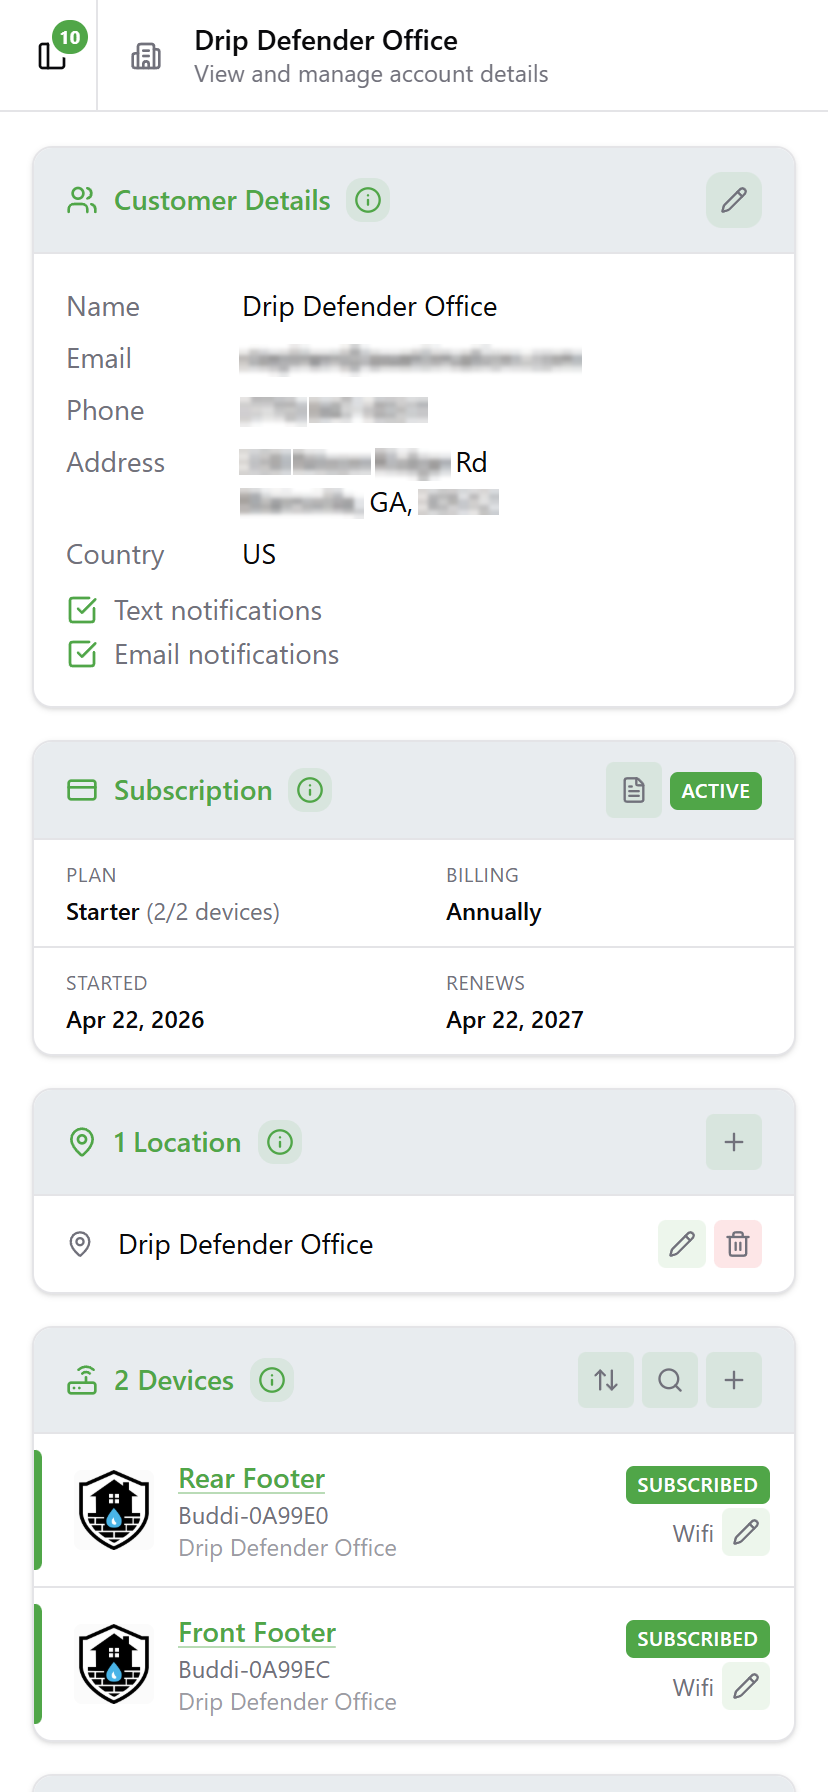
  3. Scroll to the Devices card and tap the + button.

    Customer page showing Devices card
    View full size
    Customer page showing Devices card
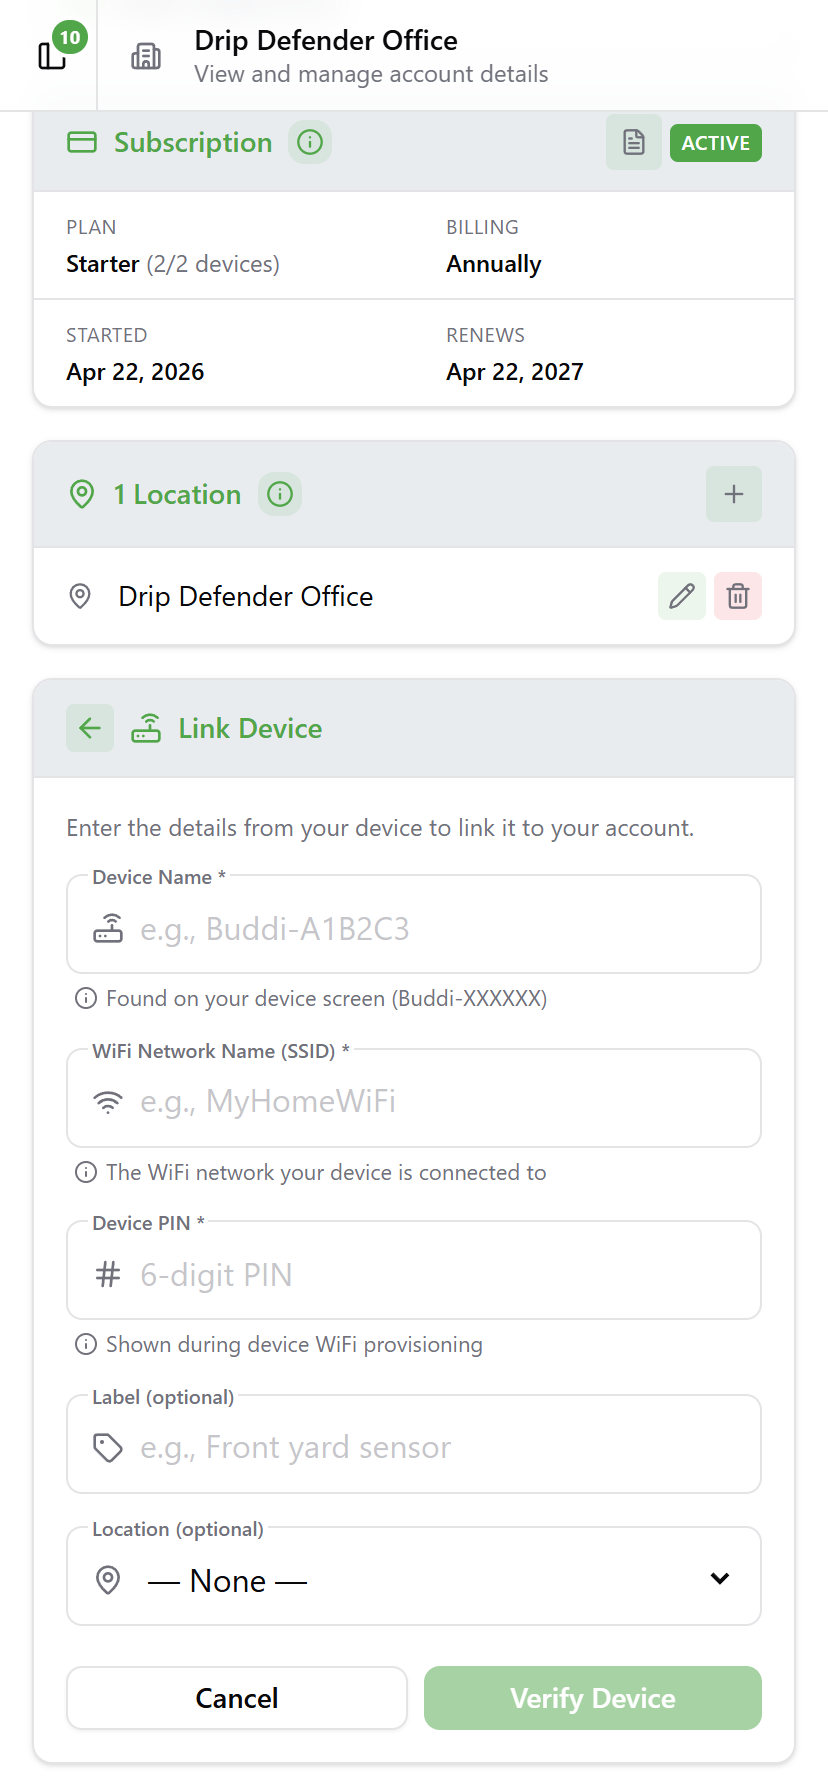
  4. The Link Device form will open. Enter the following:

    Link Device form
    View full size
    Link Device form
FieldNotes
Device NameThe hardware ID from your LCD, e.g. Buddi-A1B2C3
WiFi Network Name (SSID)The network your device connected to during provisioning
Device PINYour 6-digit PIN from provisioning
LabelA short name identifying where the device is installed, see note below
LocationSelect from your saved locations, or leave blank and assign later
  1. Tap Verify Device, then Save.

The device will appear in your Devices list. It is now linked to your account.

ℹ️ Choosing a good Label: Labels are not checked for duplicates, the app will accept the same label on multiple devices. Use a label that clearly identifies the physical location of the device (e.g. "Front Yard Valve", "Zone 3, East Field", "North Perimeter") so you know exactly where to go when an alert fires.


Assign a Location

If you did not assign a location when adding the device, you can do it at any time:

  1. Tap Customer in the navigation menu.

    Customer menu navigation
    View full size
    Customer menu navigation
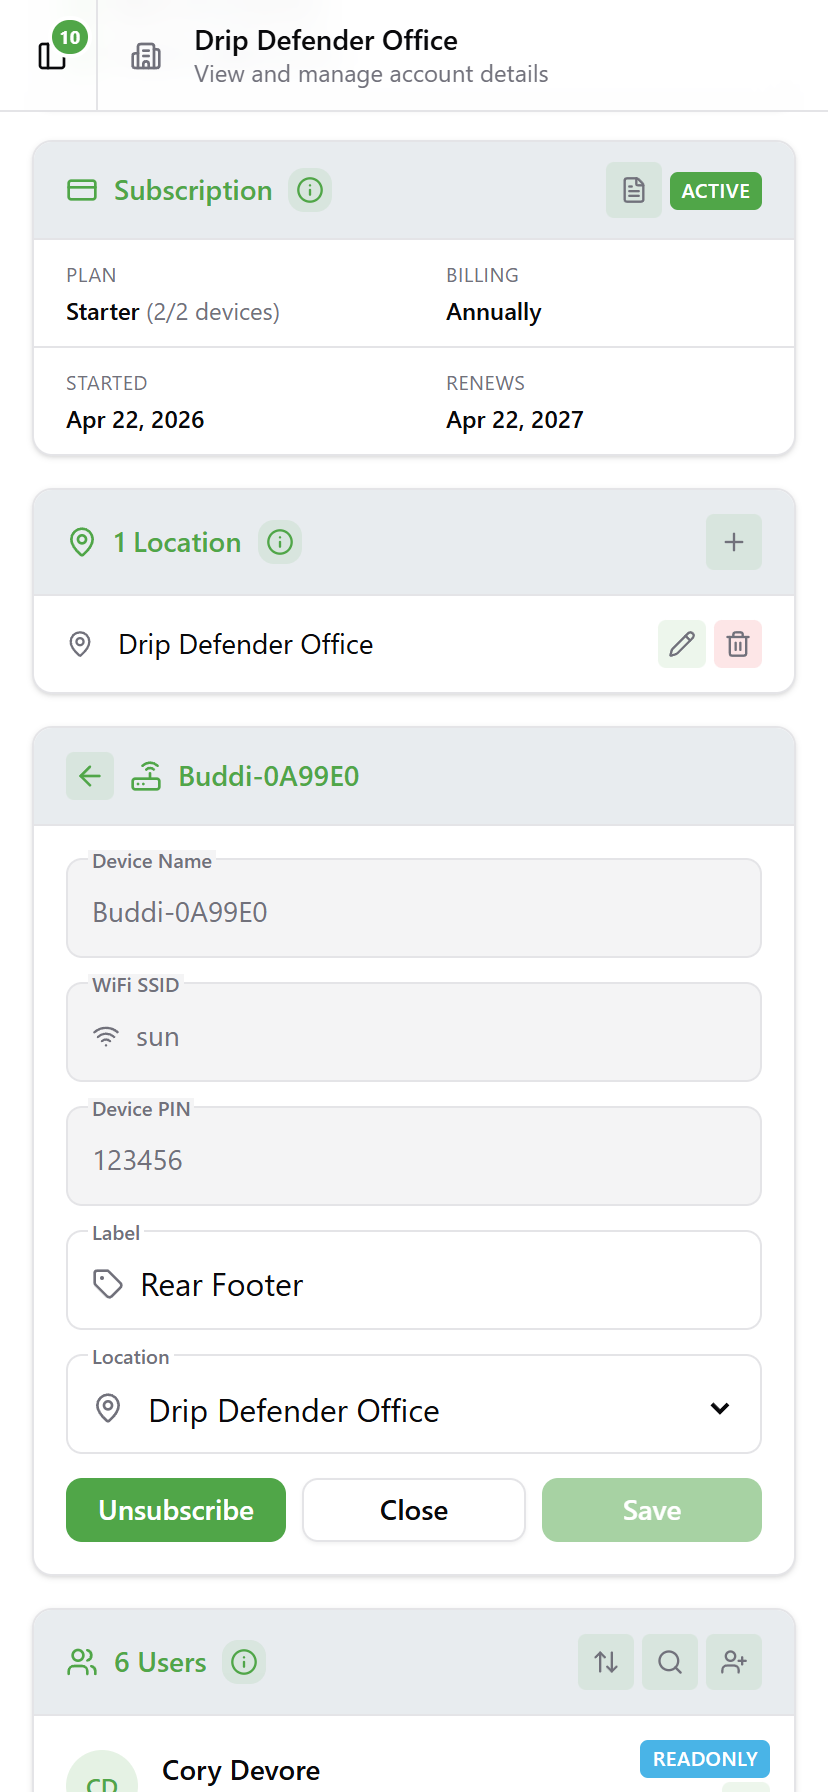
  2. Scroll to the Devices card and tap the device to expand it.

    Device card with Location dropdown
    View full size
    Device card with Location dropdown
  3. Select a location from the Location dropdown.

  4. Tap Save.

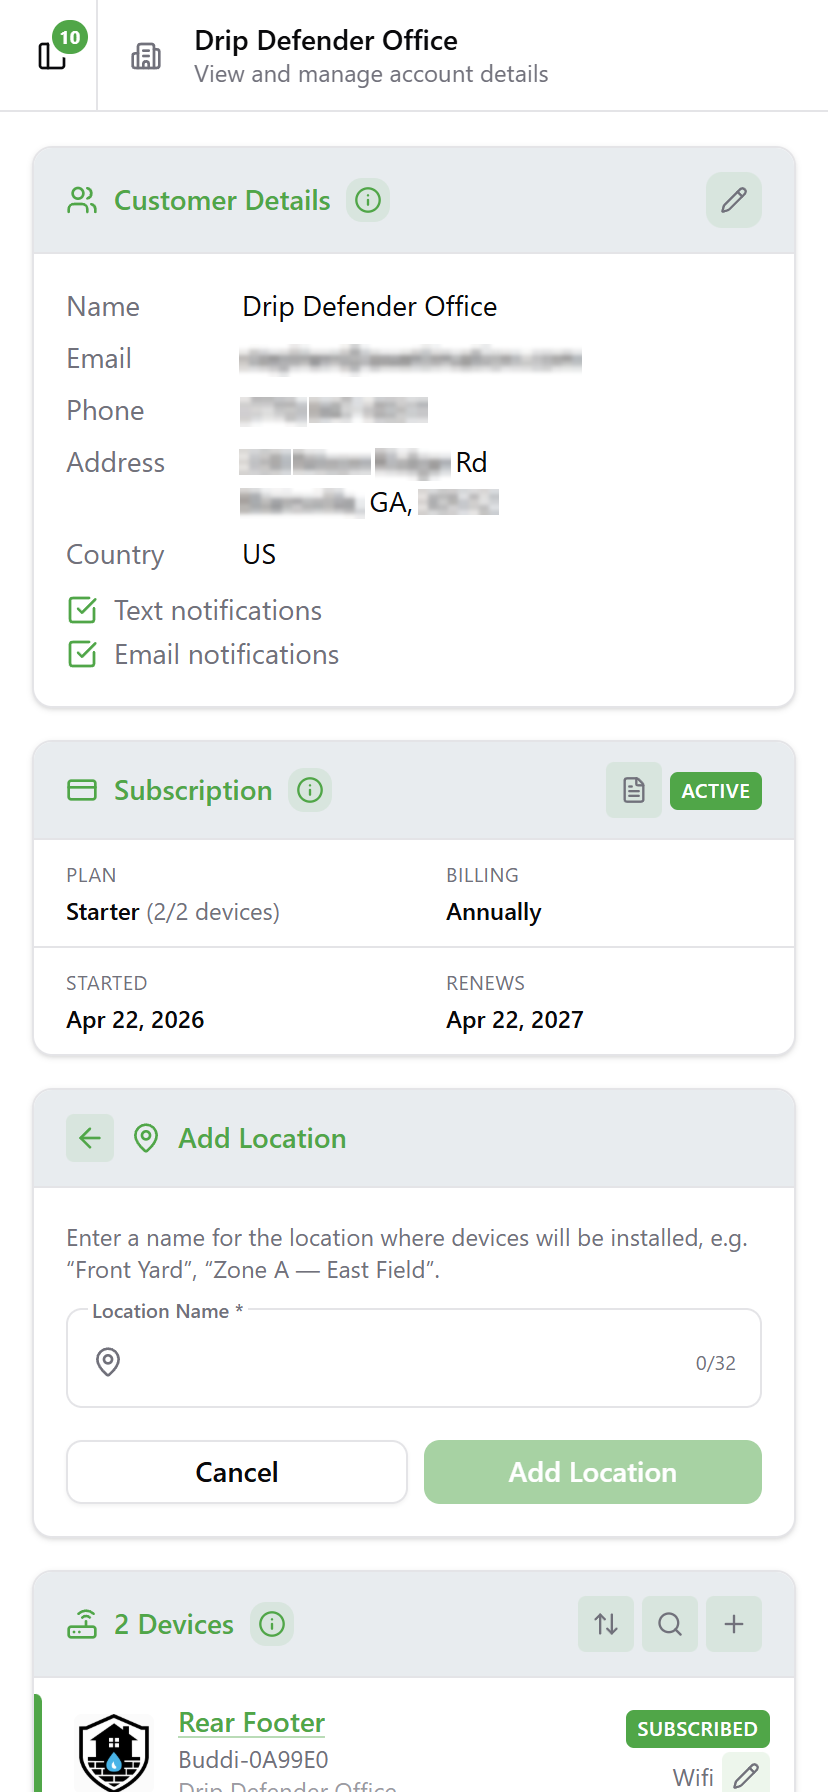
To add or manage locations, go to Customer → Locations and tap + to create a new one.

Add location form
View full size
Add location form

Activate the Device on Your Subscription

A linked device is visible in the app but not yet active. Device data, alerts, and configuration are not accessible until the device is enabled on a subscription plan.

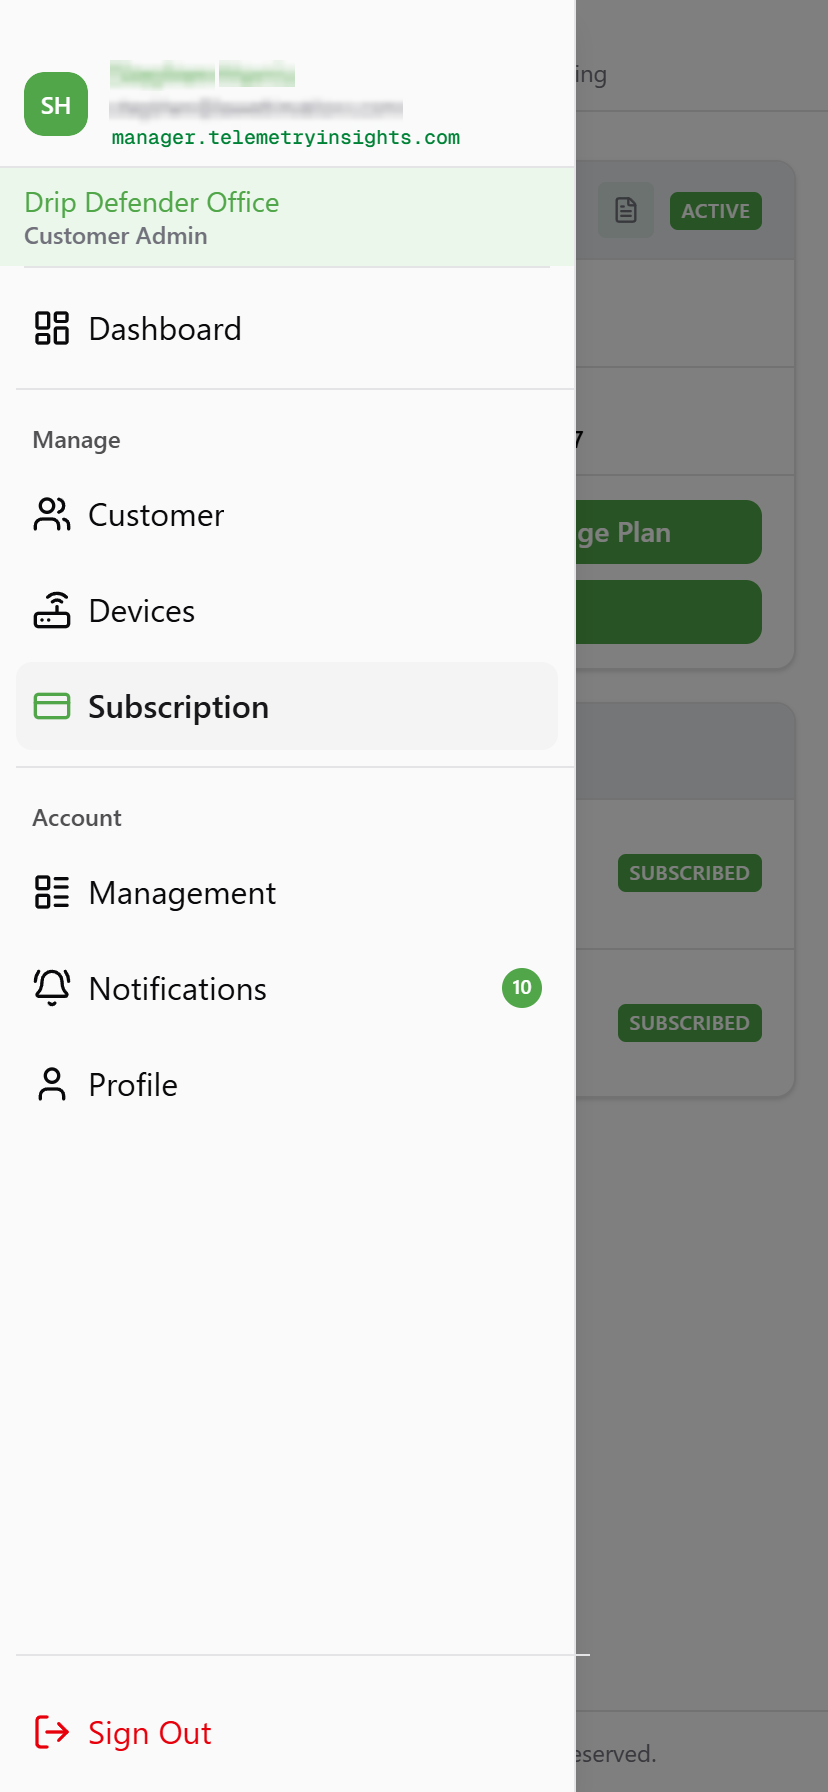
  1. Go to Subscription in the navigation menu.

    Subscription menu navigation
    View full size
    Subscription menu navigation
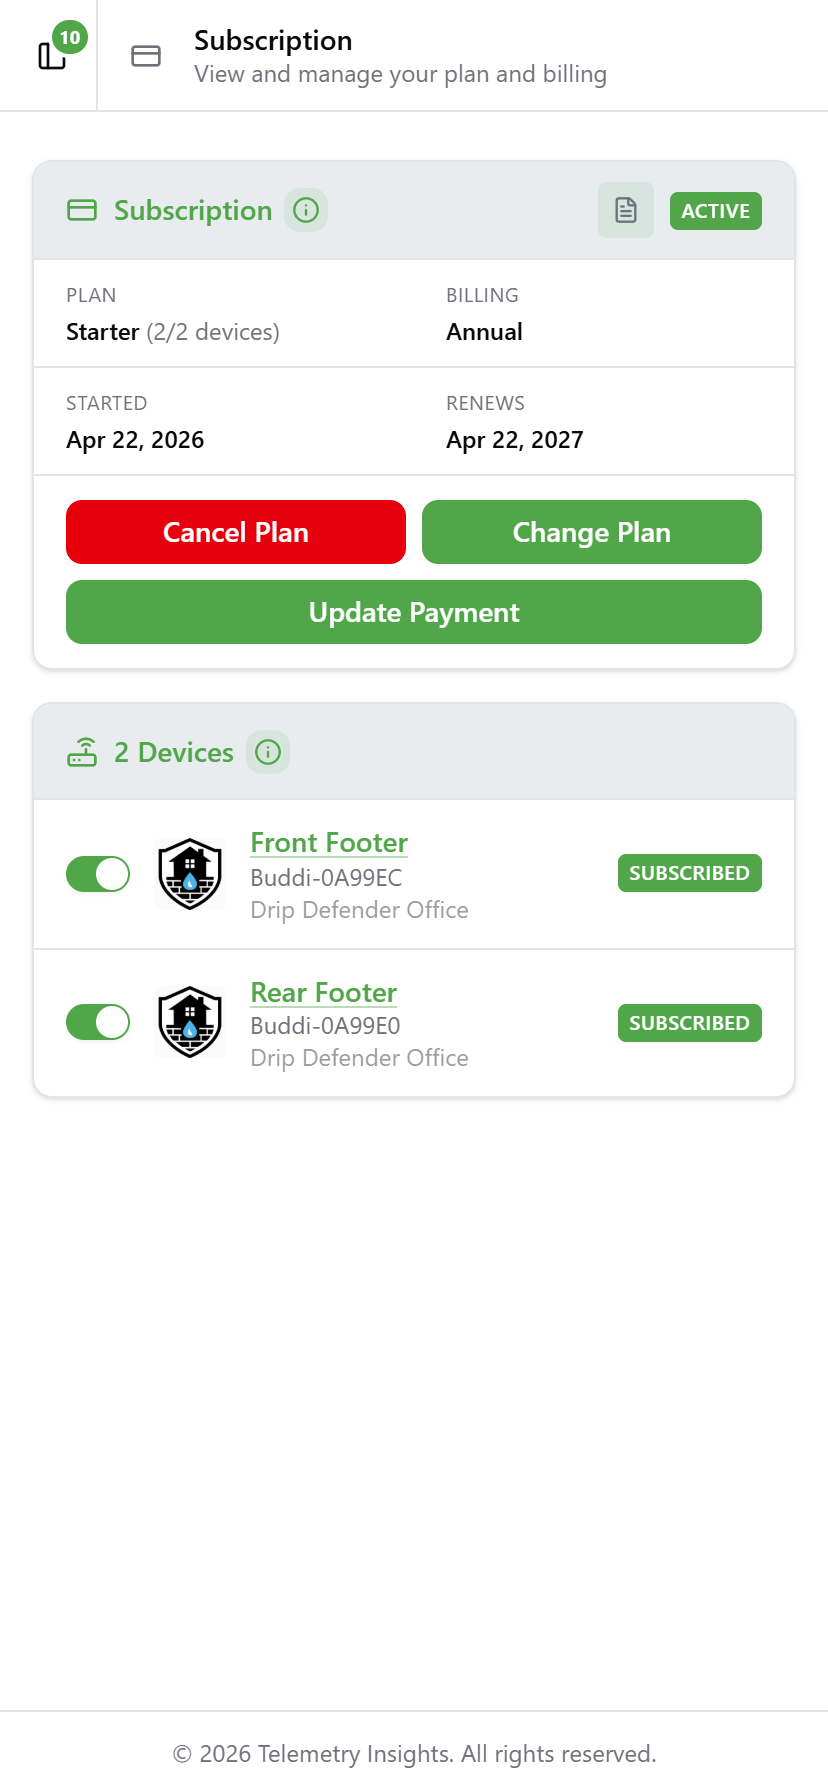
  2. Review your current plan and slot usage.

    Subscription page
    View full size
    Subscription page
  3. If you have available slots on your current plan, enable the new device from the devices section.

  4. If all slots are used, tap Upgrade Plan to add capacity, then enable the device.

ℹ️ Subscription slots: Each plan tier includes a set number of device slots. A Starter plan includes 2 devices; higher tiers support more. You can check your current slot usage under Subscription at any time.

Once enabled, the device is active and monitoring.


Need Help?

Adding Devices to Your Account | Telemetry Insights