
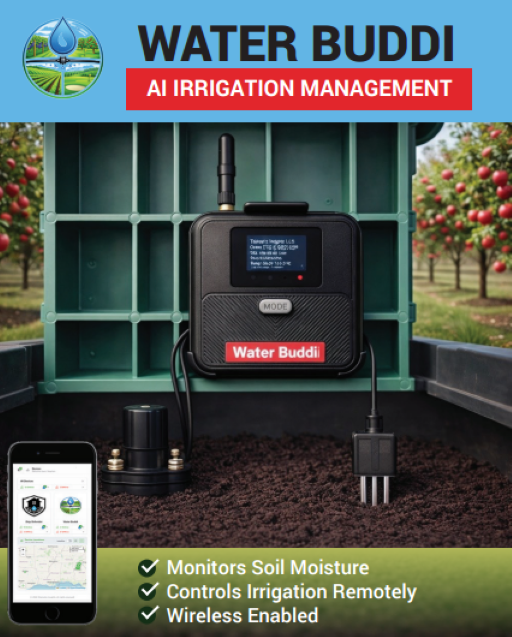
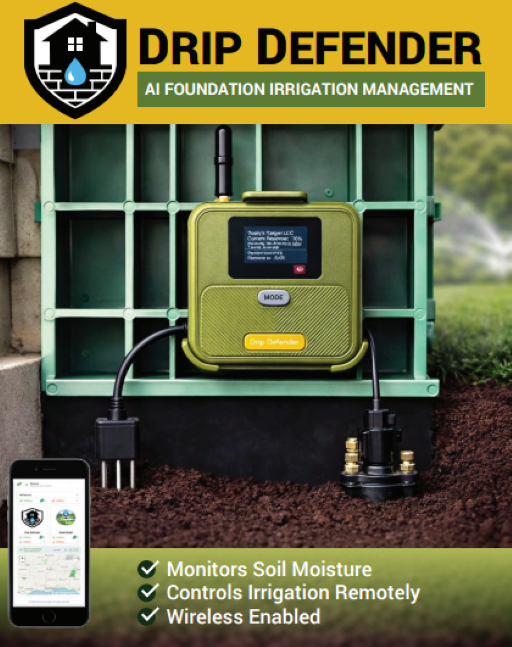
This guide applies to both the Water Buddi and Drip Defender products. Both follow the same setup and provisioning procedure.
DocumentationGetting Started
Setting Up Your Device (Unboxing & Provisioning)
Unboxing & Provisioning
beginner15 minutes
📦 What's in the Box
View full size
OR
View full size
Your package includes:
- Device
- Device Mounting Dock
- USB-C Power Pack & 10" Cable
- Wired Soil Moisture & Temp Sensor
- Mounting Hardware & Tools
- Mounting Template
- Quick Start Guide
🔌 Step 1 - Connect Power
- Turn the device over and lift the rubber cover on the bottom of the enclosure to reveal the USB-C charging port and a recessed pinhole reset button. If you ever need to reset the device, use the reset tool included in the hardware kit, a small pin designed to fit the hole precisely.
- Insert the USB-C connector from the power supply into the port.
- Plug the power supply into a wall outlet.
The device will power on. The first LED in the status bar will illuminate red, indicating the internal battery is charging.
Power inputs & battery
The device connects to an external transformer via two terminal screws on the back, accepting either 24VAC or 12VAC. A USB-C port on the bottom provides a convenient way to power the device during bench provisioning before field installation. An internal lithium-ion battery provides approximately 24 hours of backup operation during a power outage.
| Input | Use case |
|---|---|
| USB-C port | Any standard USB power adapter. Ideal for indoor or sheltered installations near an outlet, and for bench provisioning before field installation. |
| AC terminal screws | Two terminal screws on the back of the device connect to an external transformer supplying 24VAC or 12VAC. Required for all field installations where solenoid or valve control is needed. |
Choosing your AC voltage: Connect one transformer at a time to the two terminal screws on the back of the device, never both simultaneously. All terminals are labeled on the device.
- 24VAC is recommended for most installations and is compatible with standard 24VAC hold solenoid valves.
- 12VAC is for installations using 12VDC latching solenoid valves, or where an existing 12VAC landscape lighting transformer is already in place.
The Telemetry Insights transformer supports both voltage levels.
Transformer capacity, existing installations:
If you are connecting to an existing landscape or irrigation transformer, verify it has sufficient capacity before adding devices. Budget approximately 20 watts per device (combining the device's own draw with the solenoid load) as a conservative estimate for planning purposes. This applies to both 24VAC hold solenoids and 12VDC latching solenoids. Check the VA or watt rating on your transformer label and ensure the total load of all connected devices and valves does not exceed it.
⚠️ Solenoid and valve control requires AC transformer power. USB-C and battery power support all device functions, WiFi, sensors, LCD, cloud connectivity, and the app, but cannot drive solenoid or valve engagement. A device running on USB or battery alone will monitor and report normally but will not open or close valves.
Bench provisioning
You can complete WiFi provisioning (steps 2–5 below) at home or in the office using USB-C power, then carry the device to the field for installation. This saves time on-site and avoids the need for a temporary power source at the installation location.
One important caveat: the WiFi network you provision must be the same network available at the field location. If the networks differ, you will need to re-provision on-site. A simple workaround is to temporarily change your home or office WiFi access point's SSID and password to match the field network before provisioning, the device will then connect automatically when it arrives at the field location with no re-provisioning required. Restore your original credentials afterward. Re-provisioning does not affect your account; once a device is linked, changing its WiFi credentials does not unlink it.
Reset button
The pinhole next to the USB-C port is a hardware reset. Use the reset tool included in the Mounting Hardware & Tools package to press it, the tool is sized to fit the hole precisely. Because the device has an internal battery and no power switch, a brief press restarts the device if it becomes unresponsive. See the Troubleshooting section below for the full factory reset procedure.
📟 Step 2 - Provisioning Mode
The LCD screen will turn on and display provisioning information. The screen has five rows, here is exactly what each row shows:
| Row | Display |
|---|---|
| Row 1 | Telemetry Insights LLC |
| Row 2 | WiFi Setup Mode |
| Row 3 | AP: BuddiSetup |
| Row 4 | PW: setup123 |
| Row 5 | IP: 192.168.4.1 | 180s |
⏱️ Row 5 counts down from 180 seconds, this is how long the device stays in provisioning mode. You must complete setup before the timer reaches zero, or the device will reboot and you will need to start again.
📱 Step 3 - Connect Your Phone to the Device
View full size
On your mobile phone:
- Open WiFi settings.
- Connect to the network named
BuddiSetup. - When prompted for a password, enter
setup123.
Your phone will automatically open the provisioning page. If it does not open automatically, open your browser, type the IP address shown on the device's LCD screen (192.168.4.1) into the address bar, and tap Go.
🔐 Step 4 - Enter Your WiFi Credentials and PIN
On the provisioning page:
-
WiFi Network (SSID), Enter the name of your local WiFi network.
-
WiFi Password, Enter your local WiFi password.
-
Device PIN, Enter a 6-digit numeric PIN. You can use the one pre-filled on the screen or choose your own.
- The PIN must be exactly 6 digits, numbers only.
- You will need this PIN when adding the device to your account, write it down.
-
Tap Connect.
The page will confirm "Credential saved" when the information has been accepted.
⚠️ 2.4 GHz WiFi required: The device connects to your local WiFi on 2.4 GHz only, it does not support 5 GHz. The network name and password you enter here must be for your 2.4 GHz network. If your router broadcasts separate networks for each band (e.g., MyNetwork and MyNetwork_5G), enter the 2.4 GHz one. If your router uses a single shared name for both bands, simply enter that name, your router will handle the rest.
Important, WiFi signal strength: The device must be within good range of your WiFi router during this step. If the signal is too weak, the device will attempt to connect 5 times (roughly 1 minute), then automatically try LoRa radio as a fallback (which will also fail during initial setup, taking another ~1 minute), and ultimately return to provisioning mode on its own. The full cycle takes approximately 1–2 minutes. If you want to get back to provisioning sooner, press the reset button on the bottom of the device to restart, then move it closer to your router before repeating from Step 2.
📶 Step 5 - Device Connects to Your Network
After saving credentials, the device works through the following sequence. Row 1 always shows Telemetry Insights LLC. Watch the remaining rows for progress:
ℹ️ Note: Some screens may flash by very quickly depending on your network. You do not need to catch every screen, just watch for Manager connected to confirm the device is online.
🔄 Testing your WiFi credentials
| Row | Display |
|---|---|
| Row 2 | Testing WiFi... |
| Row 3 | SSID: {your local WiFi SSID name} |
| Row 4 | Attempt 1/5 |
✅ WiFi connected
| Row | Display |
|---|---|
| Row 2 | WiFi Connected |
| Row 3 | SSID: {your local WiFi SSID name} |
| Row 4 | {IP address} | {signal strength}dBm |
🕐 Syncing time - Row 4 updates
| Row | Display |
|---|---|
| Row 4 | Syncing cloud time |
☁️ Connecting to the platform - Row 4 updates
| Row | Display |
|---|---|
| Row 4 | Connecting manager |
✅ Online and registered - Row 4 updates
| Row | Display |
|---|---|
| Row 4 | Manager connected |
Once the device shows Manager connected, it will begin cycling through live sensor readings on the LCD, updating every 5 seconds.
📊 Final successful connected LCD display (Sensor cycling)
| Row | Display |
|---|---|
| Row 1 | Telemetry Insights LLC |
| Row 2 | WiFi Connected |
| Row 3 | SSID: {your local WiFi SSID name} |
| Row 4 | Buddi-###### WiFi |
| Row 5 | {Sensor name}: {value}, rotates every 5 seconds |
The six characters after the dash in row 4 are unique to your device. ✏️ Write down the name shown on row 4, you will need it to add the device to your account.
✏️ Write this down now. You will need your device name, PIN, and local WiFi network name to add the device to your account.
✅ Step 6 - Device Is Provisioned
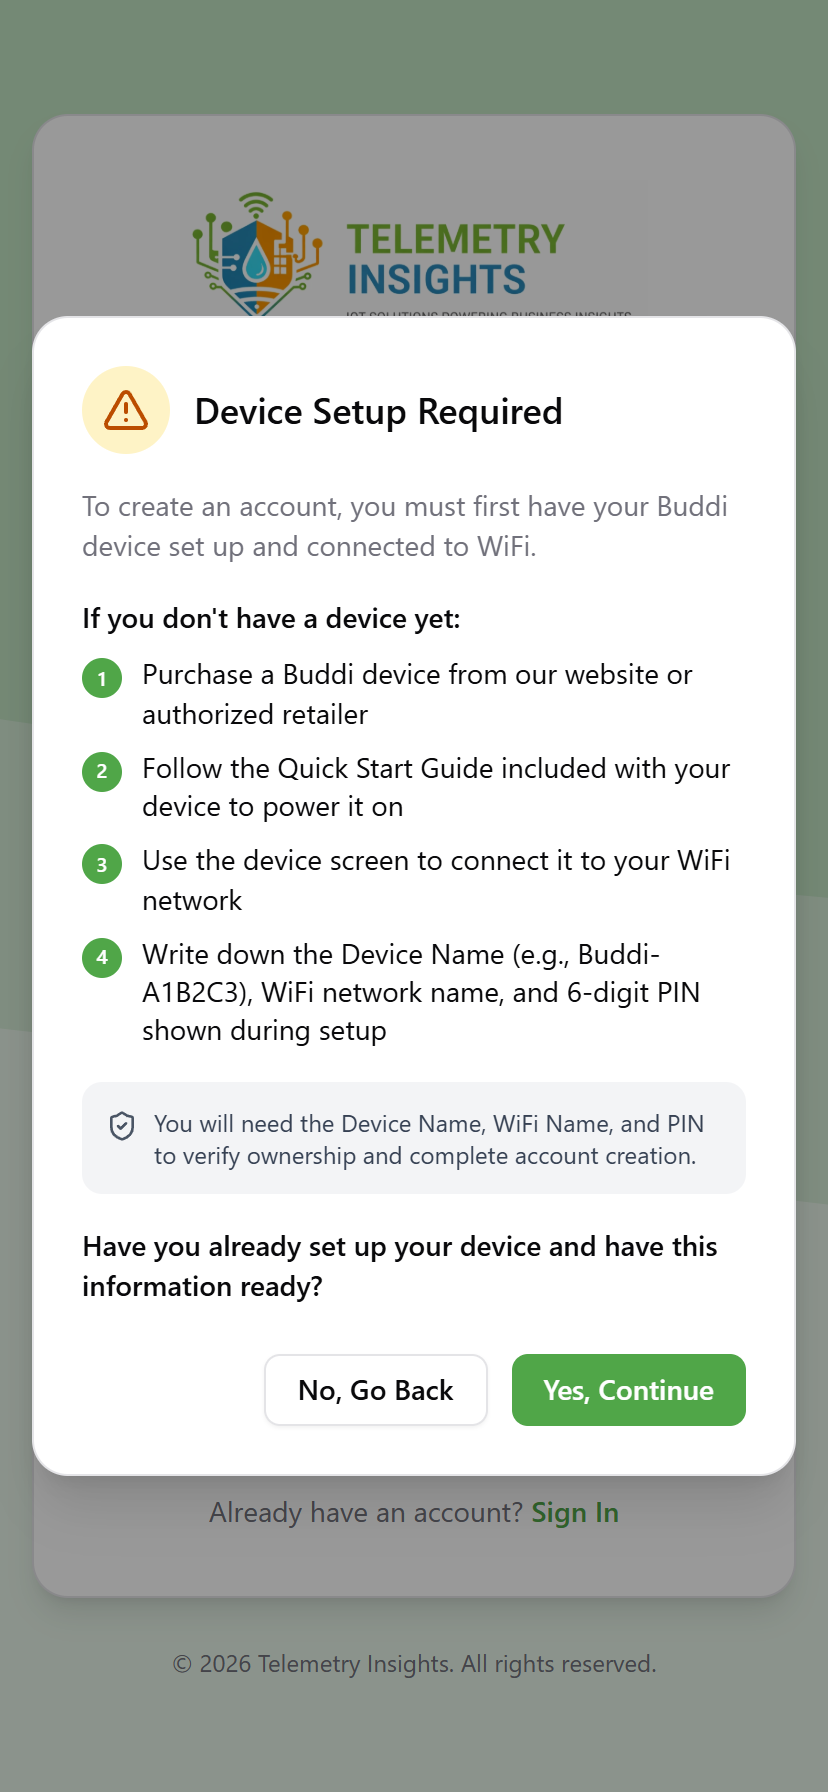
Your device is now provisioned and connected to the Telemetry Insights platform. At this stage it is not yet assigned to your account, it is online but not yet linked to your customer profile.
To complete setup, you will need the following information you recorded during provisioning:
- 🏷️ Device name (e.g.,
Buddi-XXXXXX), shown on the LCD after connecting - 🔐 Device PIN, the 6-digit PIN you entered in Step 4
- 📶 WiFi network name, the name of the network the device connected to
Next step: Creating Your Account →
🛠️ Troubleshooting
- The provisioning page did not open automatically? Open your browser and navigate to
192.168.4.1. - The 180-second timer ran out? The device will reboot. Wait for it to restart and re-enter provisioning mode, then repeat from Step 2.
- WiFi connection failed after entering credentials? The device will retry up to 5 times (~1 minute), then attempt a LoRa fallback (~1 minute), and return to provisioning mode automatically, the full cycle takes approximately 1–2 minutes. To get back to provisioning sooner, press the reset button on the bottom of the device to restart the process. Once in provisioning mode, double-check your WiFi password, confirm you are using a 2.4 GHz network, and make sure you are within good range of your router before trying again.
- The device name is not visible on the LCD? The device name is displayed on row 4 once the device is fully connected. If you do not see it yet, the device is still connecting, wait for row 4 to show
Manager connected, then it will switch to sensor cycling mode where row 4 permanently displays your device name:Buddi-###### WiFi. - Device is frozen or unresponsive? Insert a pin or straightened paper clip into the small pinhole on the bottom of the device and press briefly to restart. To perform a factory reset (clears all WiFi credentials and returns the device to provisioning mode): insert the pin and hold for 10 seconds until the LCD clears, then release. The device will reboot and return to Step 2.
Need Help?
- In the app, from the hamburger menu select Management, then tap + in the Support card to start a new support session
- Web chat, available at telemetryinsights.com
- Email, support@telemetryinsights.com, My Buddi or a support specialist will respond