
Purchase hardware devices and subscription plans from the Telemetry Insights web shop at telemetryinsights.com/shop. This guide walks through every step, browsing products, adding to cart, and completing checkout.
DocumentationShopping
Shop & Checkout Guide
Shop & Checkout Guide
beginner5 minutes
Browse the Shop
The shop is split into two sections: Hardware and Subscription Plans.
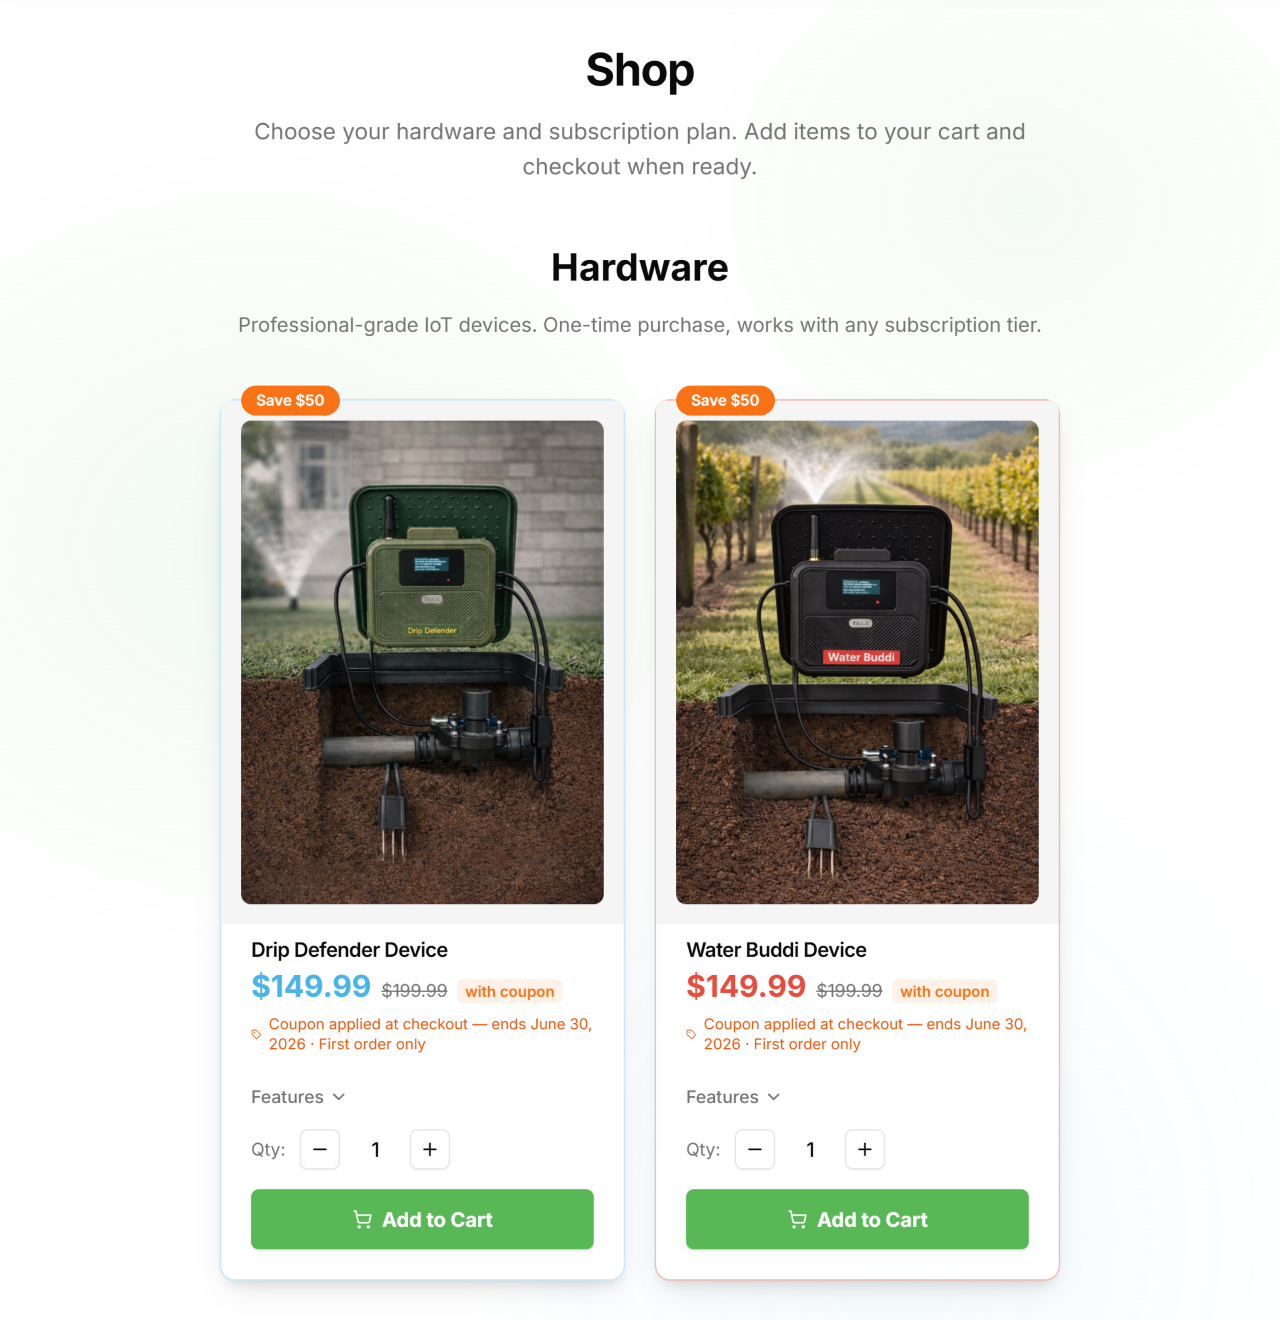
Hardware
One-time purchases, the physical monitoring devices. Each product card shows:
- Product name and a brief description.
- Price.
- Quantity selector, use the − and + buttons to choose how many units you want.
- Add to Cart button.
Subscription Plans
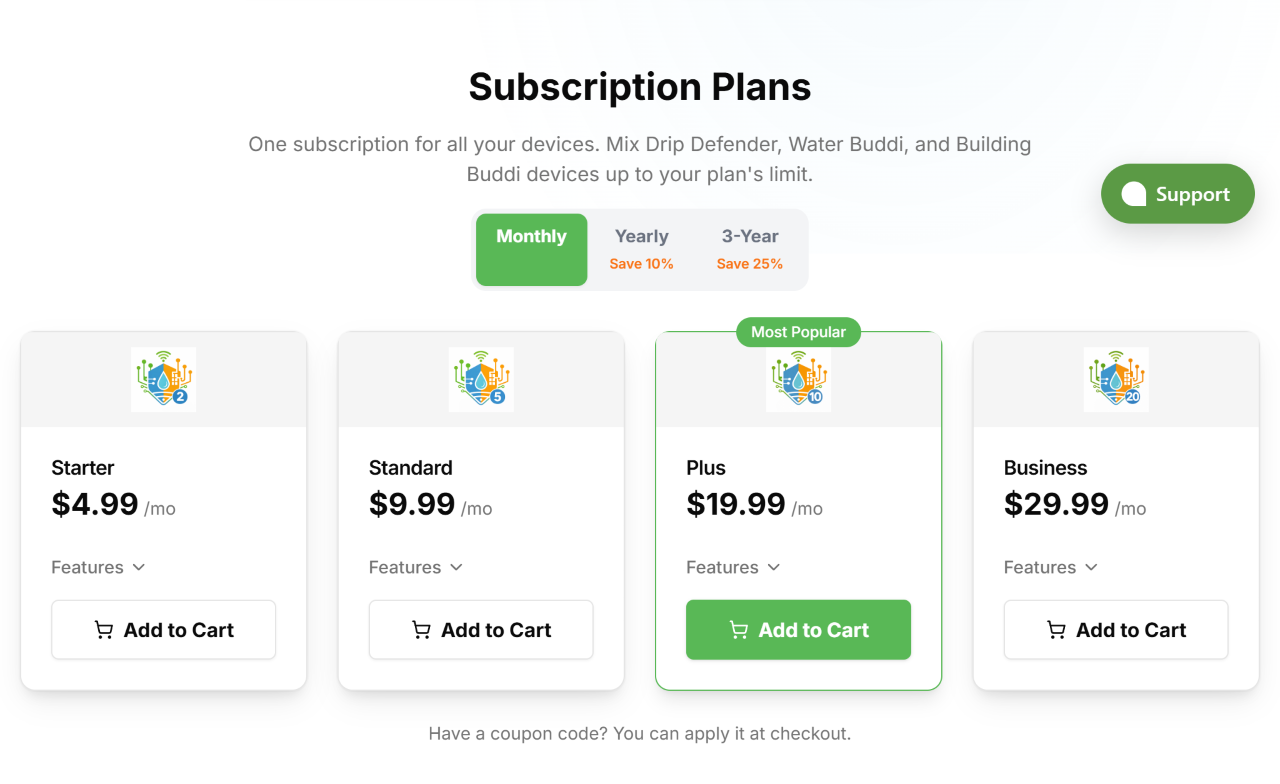
Recurring plans that activate monitoring for your devices. Plans are offered at three billing intervals:
- Monthly, pay month-to-month, cancel any time.
- Yearly, save 10% compared to monthly.
- 3-Year, save 25% compared to monthly, locked in for three years.
Use the interval toggle at the top of the plans section to switch between Monthly, Yearly, and 3-Year pricing. Each plan card shows the device limit, price per interval, and an Add to Cart button.
A subscription slot must be assigned to each device before monitoring, alerts, and live data are active. Adding a device to your account during provisioning is always free.
View full size
View full size
Shopping Cart
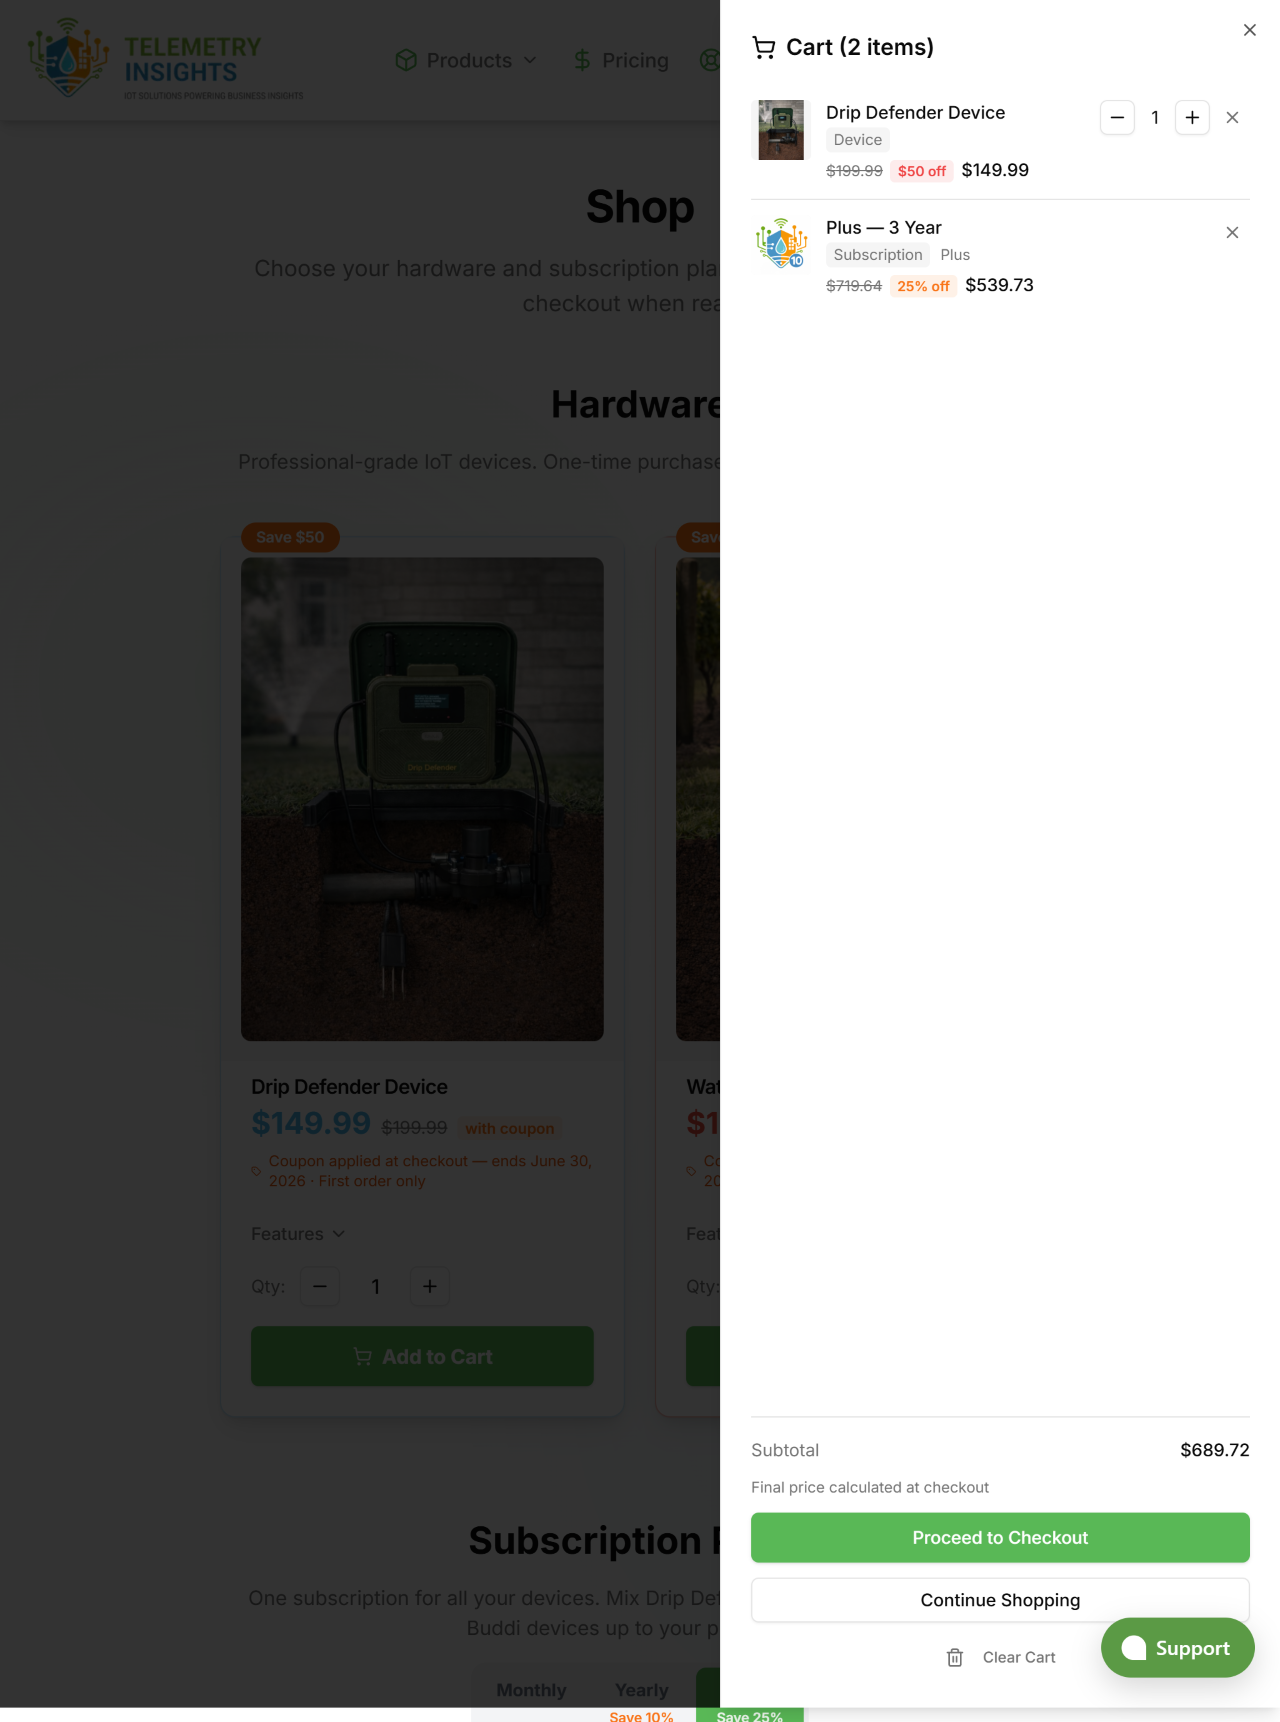
The cart collects everything you want to buy before checkout.
- All items are listed with product name, quantity, and line total.
- Remove any item by clicking the remove icon on its row.
- The order subtotal updates automatically as you adjust items.
- Click Proceed to Checkout when you're ready.
You must be signed in to complete a purchase. If you aren't signed in, you'll be redirected to sign in before checkout begins.
View full size
Step 1 - Shipping Address
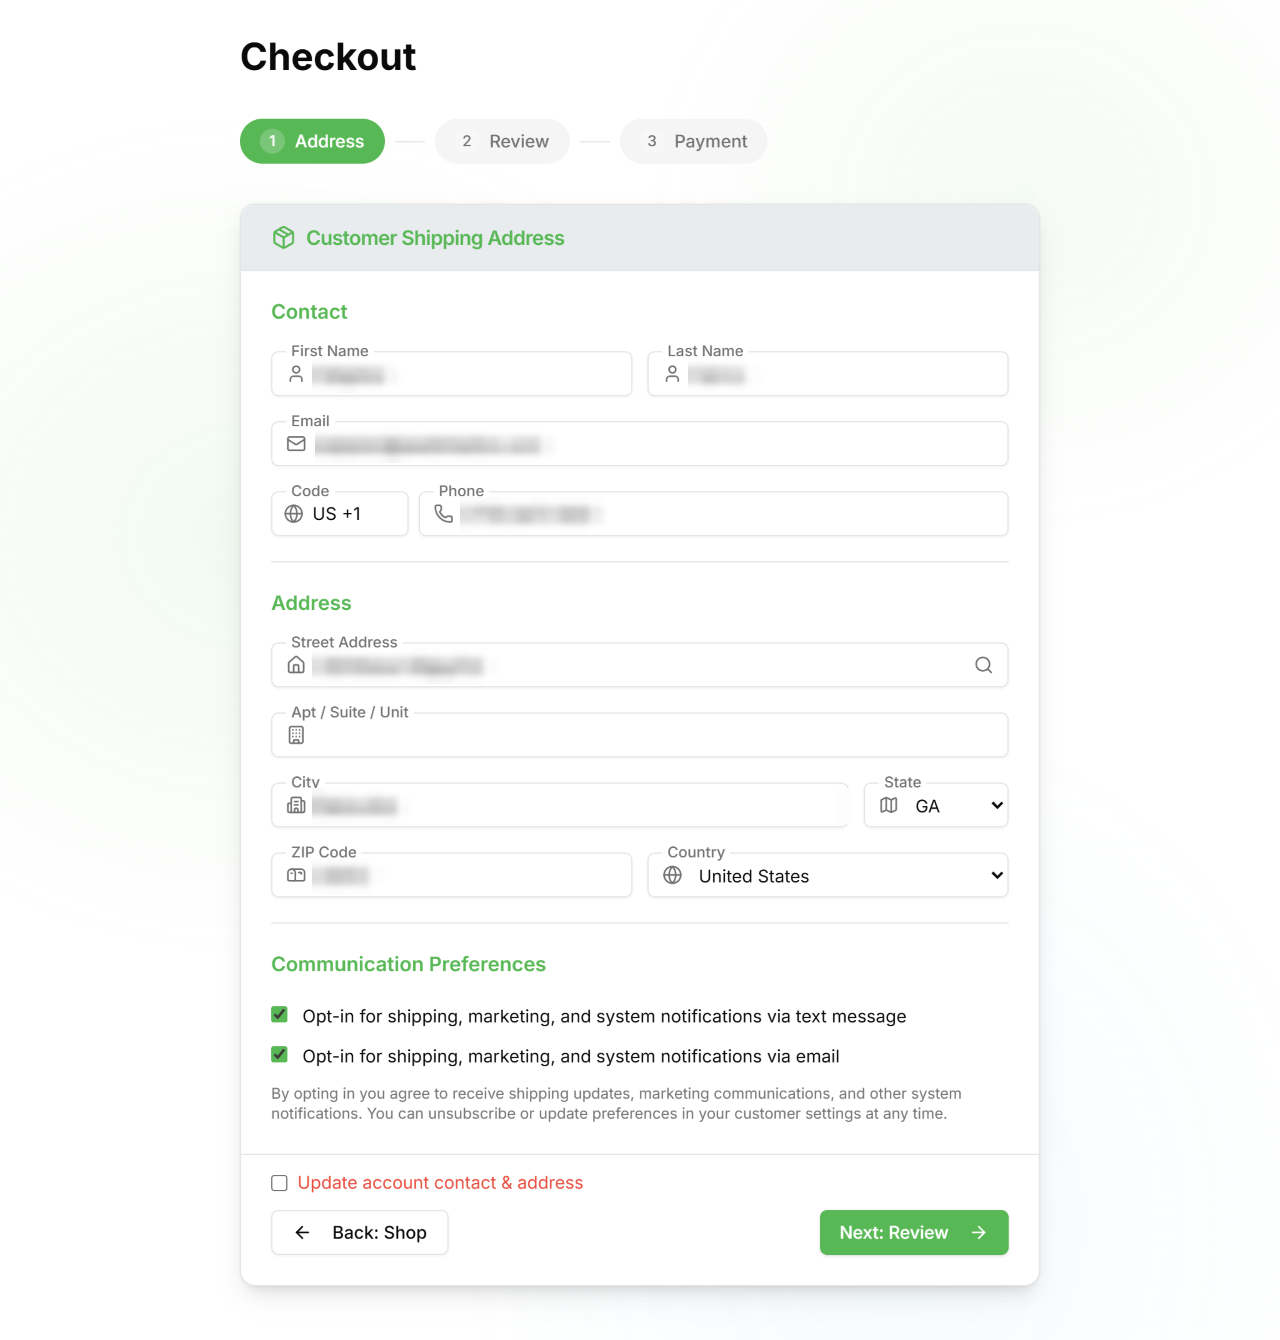
The first checkout step collects your delivery address.
- Name, the recipient name for the shipment.
- Phone, a contact number for the carrier.
- Street Address, with Google autocomplete. Start typing and select your address to fill city, state, ZIP, and country automatically.
- Apt, Suite, Unit, optional secondary line.
- City, State, ZIP, Country, edit individually if needed.
If your account already has an address on file, it pre-fills here automatically. Review it and edit if your shipping address differs from your account address.
Click Continue to move to the next step.
View full size
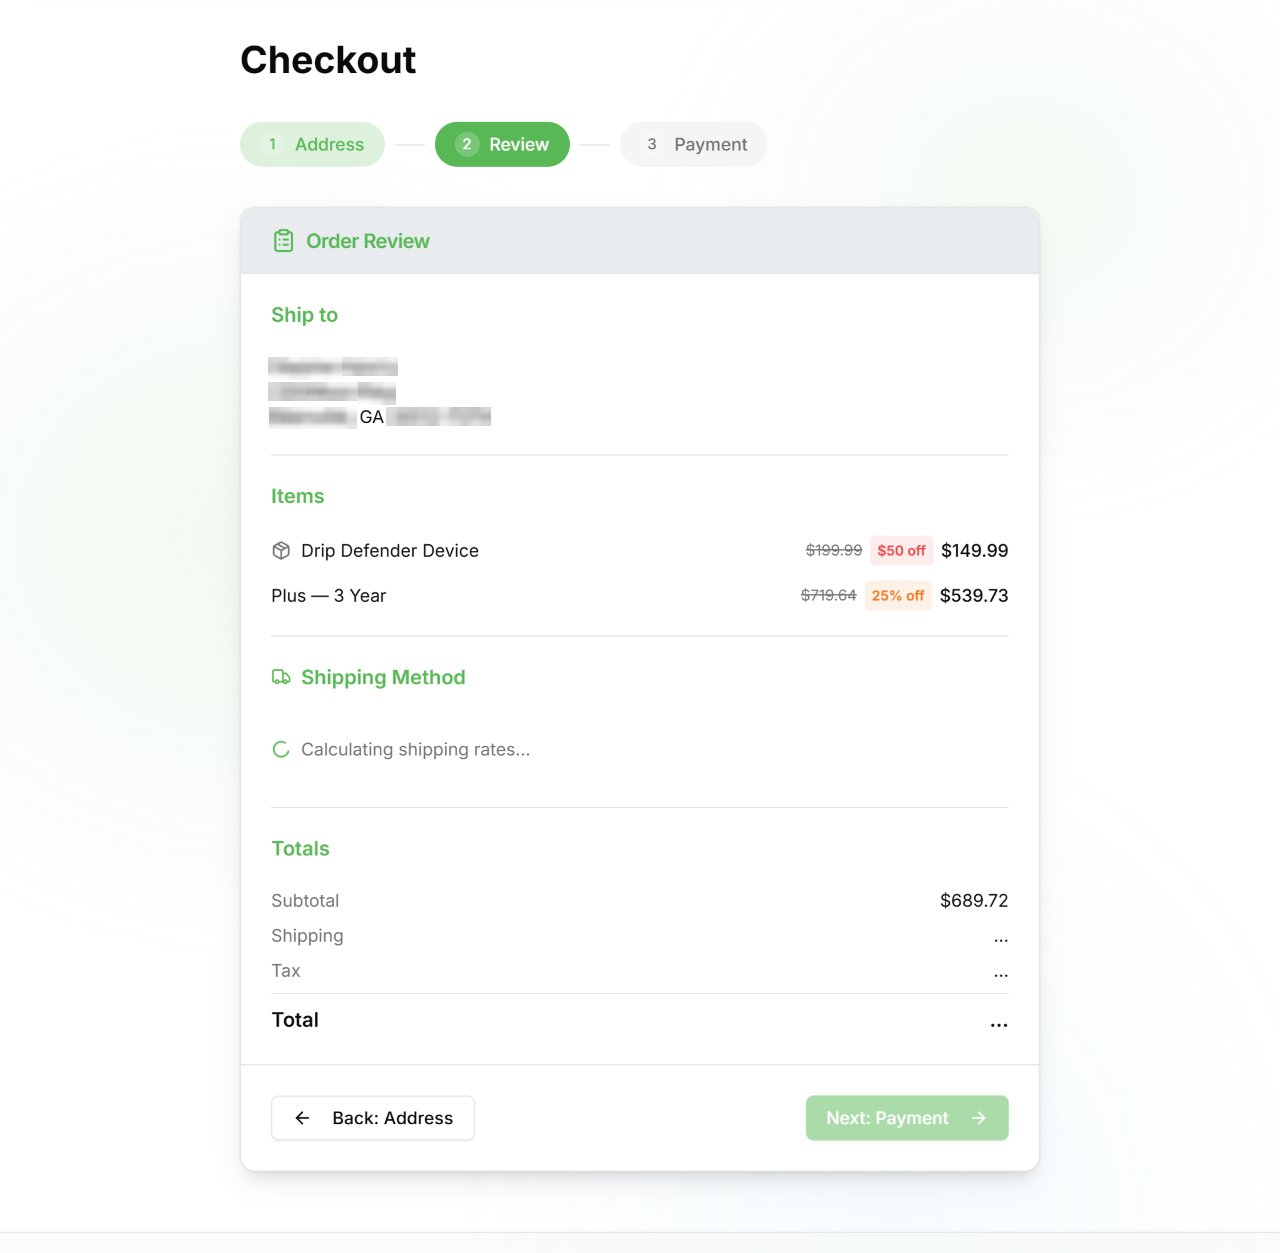
Step 2 - Review & Shipping
The second checkout step shows your full order summary and lets you choose a shipping speed.
Order Summary
- All cart items listed with quantities and prices.
- Subtotal, shipping cost, and estimated tax displayed.
- Order total shown at the bottom.
Shipping Options
Live shipping rates are fetched based on your address and order weight. Options typically include:
- Standard, economy ground shipping.
- Expedited, faster delivery at a higher rate.
- Overnight, next-business-day delivery (where available).
Select the shipping speed that suits you and click Continue to proceed to payment.
Subscription plan items have no shipping cost, only physical hardware incurs shipping charges.
View full size
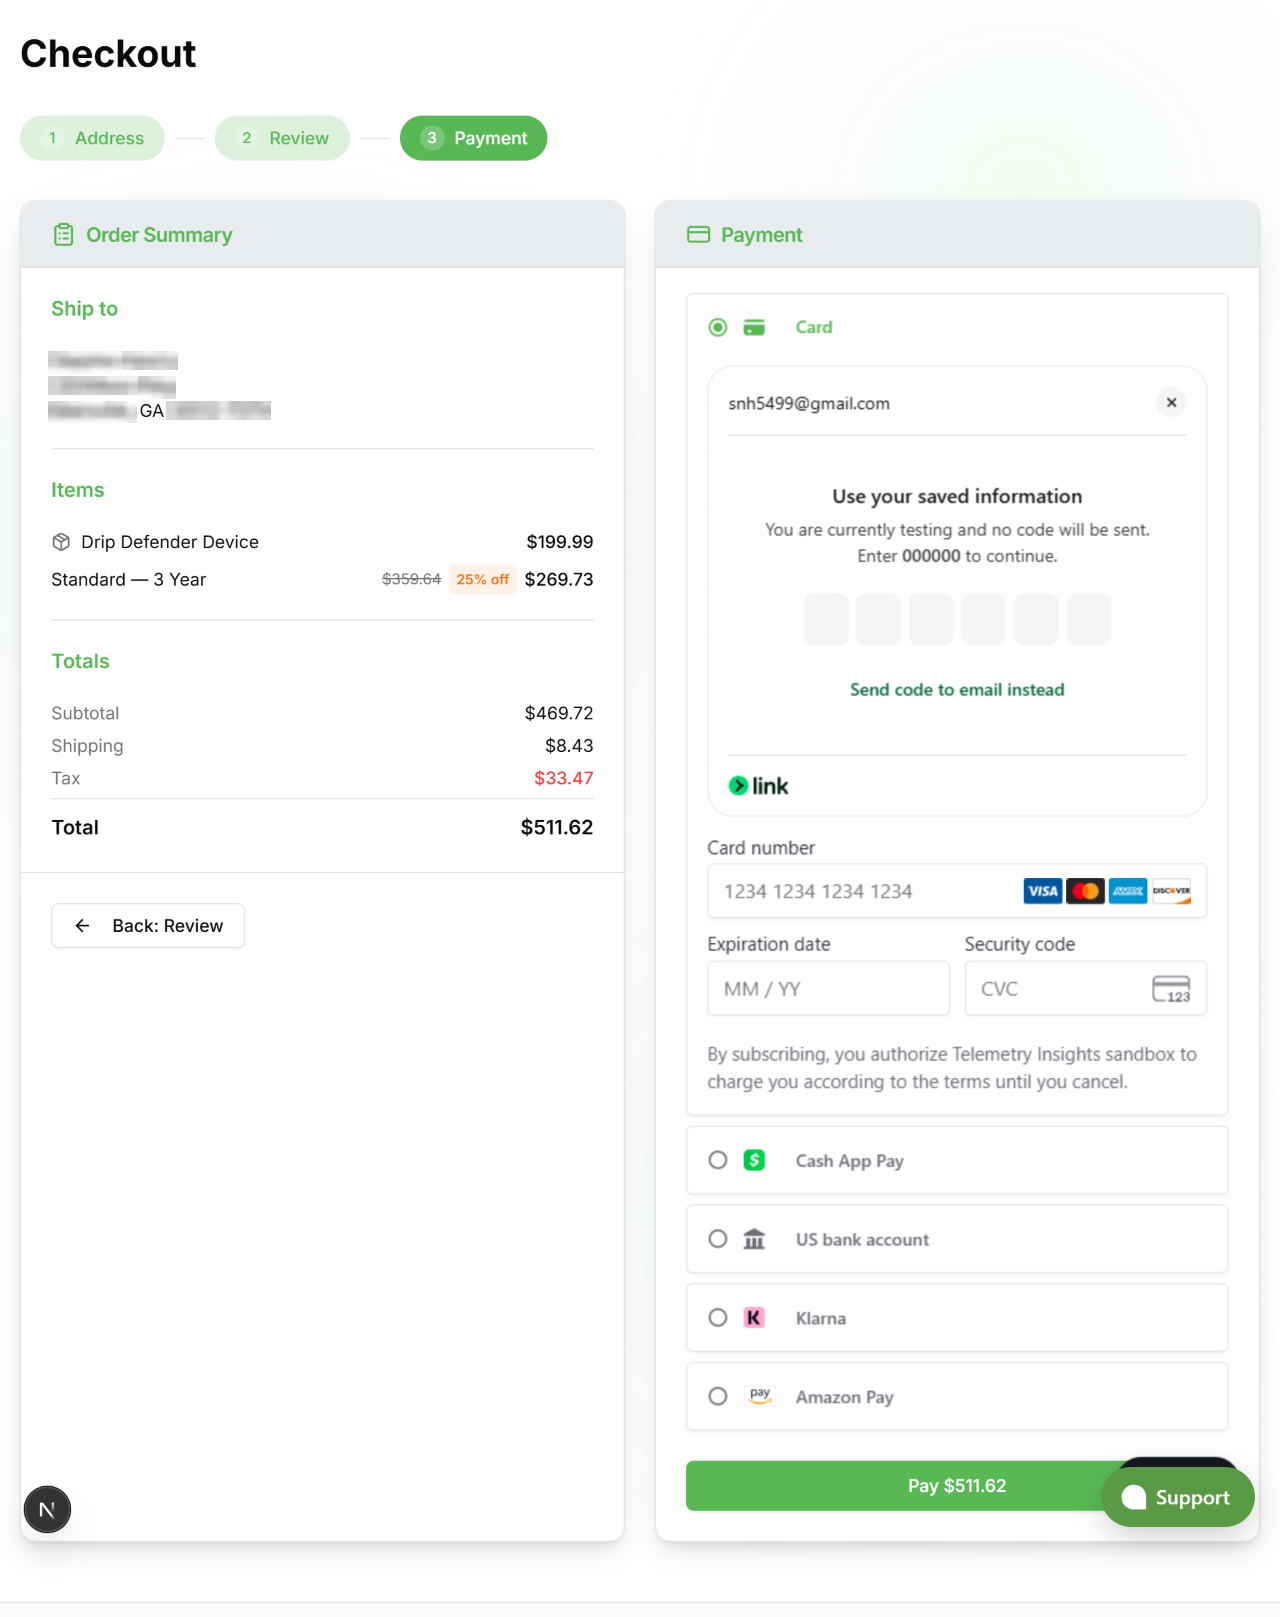
Step 3 - Payment
The final checkout step is handled securely by Stripe.
- Credit / Debit Card, enter your card number, expiry, and CVC.
- Apple Pay, available on Safari (iPhone, iPad, Mac) when a card is set up in Wallet.
- Google Pay, available on Chrome when a card is saved in your Google account.
- Coupon Code, enter a promo code in the coupon field and click Apply to see the discount reflected in the total.
Your billing details (name, address) are pre-filled from your account. Review and edit if needed.
Click Pay (or confirm via Apple Pay / Google Pay) to complete your purchase. Your payment is processed immediately, you will not be charged until you confirm.
View full size
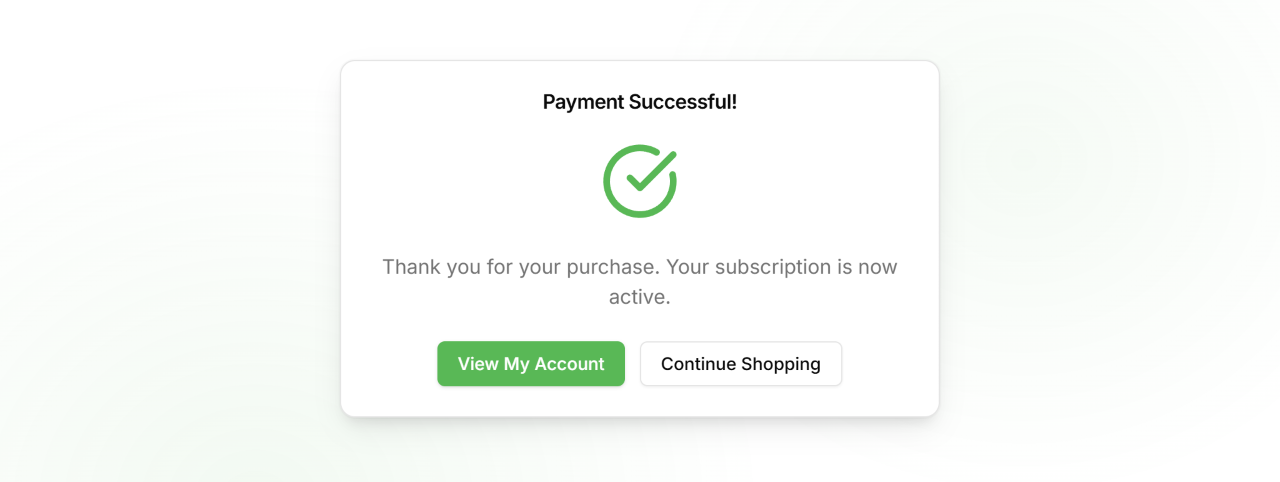
Order Confirmation
After a successful payment you are taken to the order confirmation page.
- Order number, your unique order reference.
- Tracking number, a carrier tracking number is shown as soon as the shipment label is created (typically within one business day). Click it to open the carrier's tracking page directly.
- Subscription activation, if your order included a subscription plan, it is active immediately. You can go to /account/devices to enable monitoring for your devices right away.
A confirmation email is sent to your account email address with the same details.
View full size
Need Help?
- In the app, from the hamburger menu select Management, then tap + in the Support card to start a new support session
- Web chat, available at telemetryinsights.com
- Email, support@telemetryinsights.com, My Buddi or a support specialist will respond